Showing posts with label T-shirts. Show all posts

Friday, July 20, 2012

Birthday Goodies with the Cricut

Hi all

Well I have finally gotten back in my craft room.  Yeah!!!  So we have a couple birthdays coming up so that is what I have been focused on in my craft room.  Today I have a couple items I made for a little girls birthday this weekend.  She is turning 4 and her Mom is throwing her a Princess tea party.  I decided to make her a t-shirt and a card, all Princess themes of course.  Here is the t-shirt:


I found this great t-shirt on clearance at Target.  I loved the sequins on the shoulders, and this little girls is very glamorous.  I used Expressions Vinyl heat transfer vinyl in white, purple, and pink.  The images and text are from Once Upon a Princess.  See my post here on how to cut the vinyl with the Cricut.  Here is the card I made:


Card Recipe:

  • Used the Cricut Craft Room and a square from the Craft Room Exclusives to make the card
  • Princess is from Princess Party cut at 3"
  • Doodlebug rainbow twin pack
  • Sentiment from My Pink Stamper
I decided to make a window card of sorts inspired by the current challenge over at Bitten By the Bug 2.   I really do think it is a great idea.  Well hope you have enjoyed the post, I may have another one tonight if I can get into gear.  The little princesses older brother is also having a birthday this weekend!!!  Thanks for stopping by.

Thursday, June 28, 2012

Elmo Birthday T-Shirt with Cricut

Hi all

Hope the week is finding you well.  We are still here with family.  It is amazing how much more time I have for blogging when I don't have my craft room to work in.  But that just means I get to share more of my projects with you.  So today I have a T-shirt I did for my husband's co-worker.  Her little boy is turning 1 soon and she wanted an Elmo birthday t-shirt for him.  So here is what I came up with:


So for this T-shirt I used a product that I am new to, Expressions Vinyl.  I ordered all the colors I needed of the heat transfer vinyl.  After watching some videos on their website, I quickly learned how to work with it and the Cricut.  I learned that the key is not to cut through the plastic transfer backing, only the vinyl.  This was done by setting my blade to 2, speed to medium and pressure to medium.  It was really easy to work with and I think this is my favorite t-shirt medium so far.  The one trick also is that you need to flip all your images.  This is easily done in CCR though.   Once the images are cut you just use your iron to transfer the vinyl to the t-shirt.  Here are the details on the cuts.

T-Shirt Recipe:
  • Font from Elmo's Party cut at 1" and 1.5"
  • Font from Plantin Schoolbook cut at 1.6"
  • Elmo face from Elmo's Party cut at 5.5"
  • Streamers from Elmo's Party cut at 2"
  • Expressions Vinyl
Thanks for stopping by and I hope you have a fantastic weekend.  

Sunday, March 11, 2012

St Patty's Day T-Shirts and Video

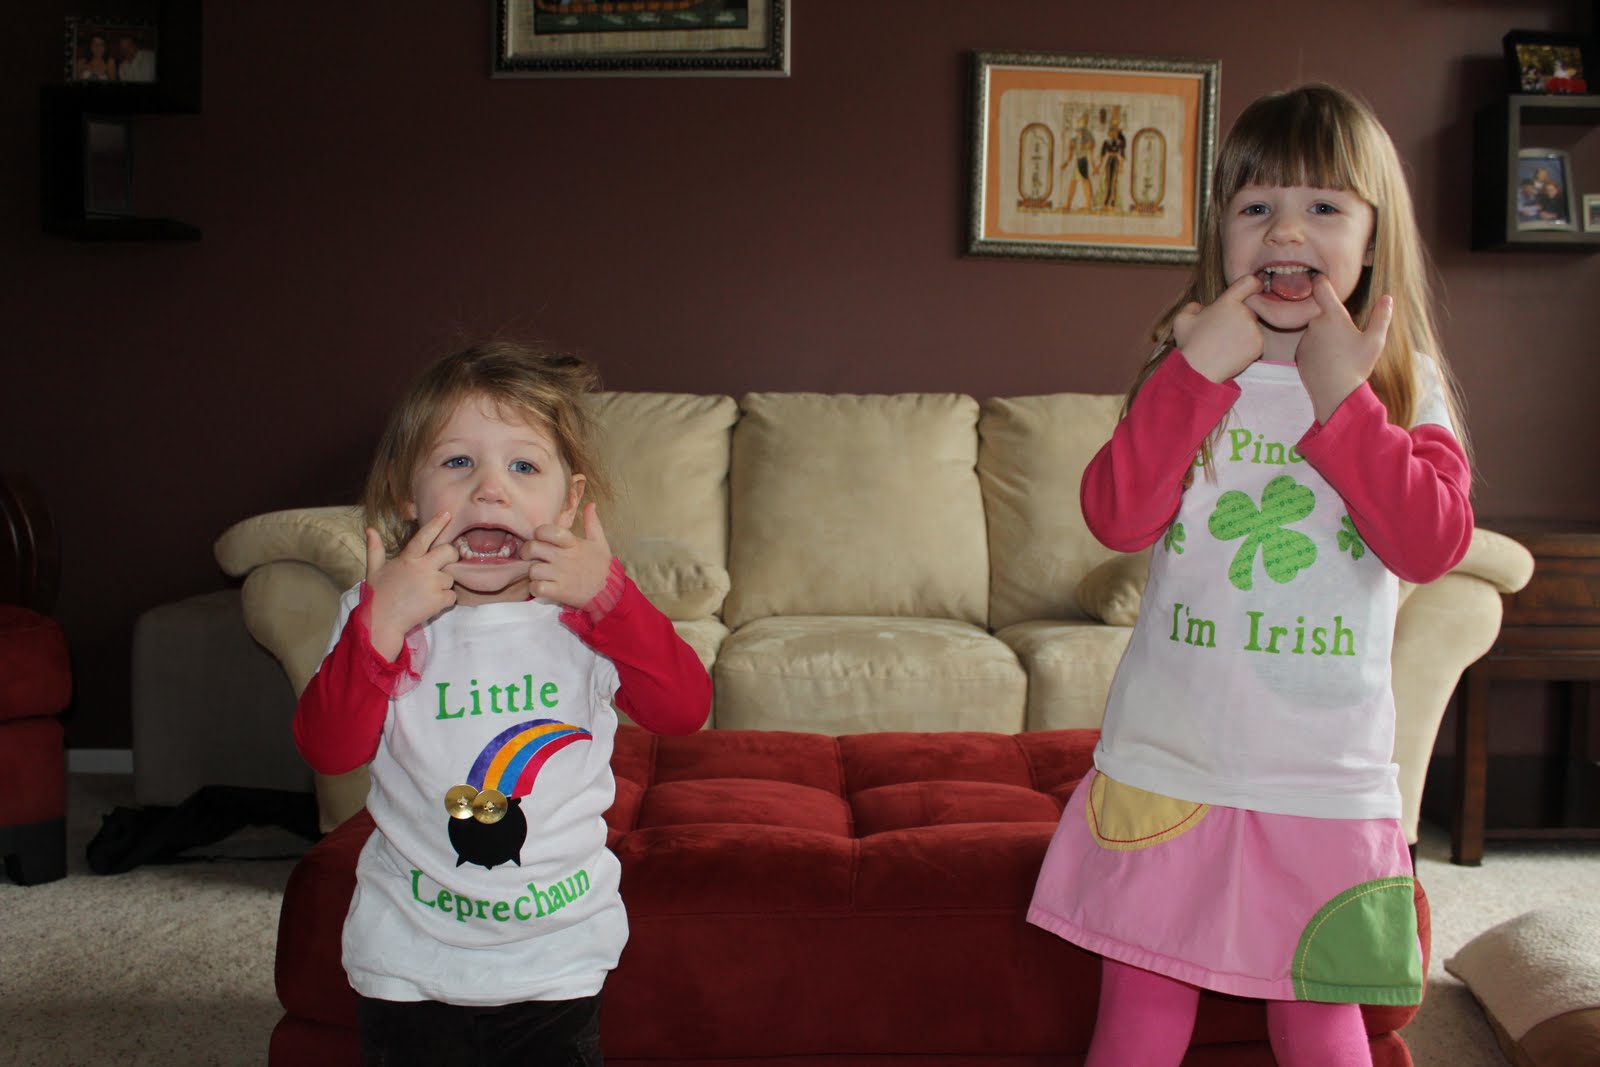
Good evening all.  Hope you have had a great weekend.  We had a pretty low key one here.  Just hanging out enjoying the nice weather.  So my project for today is some T-shirts I made for my girls.  I really think they can out super cute and can't wait for them to wear them for St Patrick's Day.  These shirts are different from ones I have done in the past because I used fabric instead of paint for the decorations.  I used my Cricut to cut the fabric and learned a lot in the process.  I also made a video for you to share some of my tips.  Here are the shirts.


Didn't they come out great.  I love the gold buttons on the pot of gold.  Here is the video and I will put a recipe at the end.

T-Shrirt Recipe:

  • T-shirts:  I use regular t-shirts from Target instead of the craft store because they are softer and have more shape
  • Heat n' Bond
  • Fabric and embellishments from fabric store
  • Ironing Board and Iron
  • Shamrocks from Cricut Digital cart St Patrick's Day cut at 3.5" and 1.3"
  • Rainbow and Pot of gold from Simply Charmed cut at 2.4"
  • Text from Plantin Schoolbook Shadow cut at 1.12"
 So I hope you have enjoyed my video and the project.  The number one tip I can give you for cutting fabric is to use a new cricut blade.  It will reduce any tearing of the fabric.

I have decided to enter this project in two challenges this week.
I will leave you will a picture of my cuties in their t-shirts.  Have a great week!!


Friday, October 21, 2011

My Guest Post for You Had Me At Craft

Hi all

So here is my exciting news.  I applied to be a guest designer for Alex over at You Had Me at Craft and she picked me!!!!  Please stop by her blog and see all of her fantastic inspiration.  So here is the project that I did as well as the instructions and lessons learned for the project.

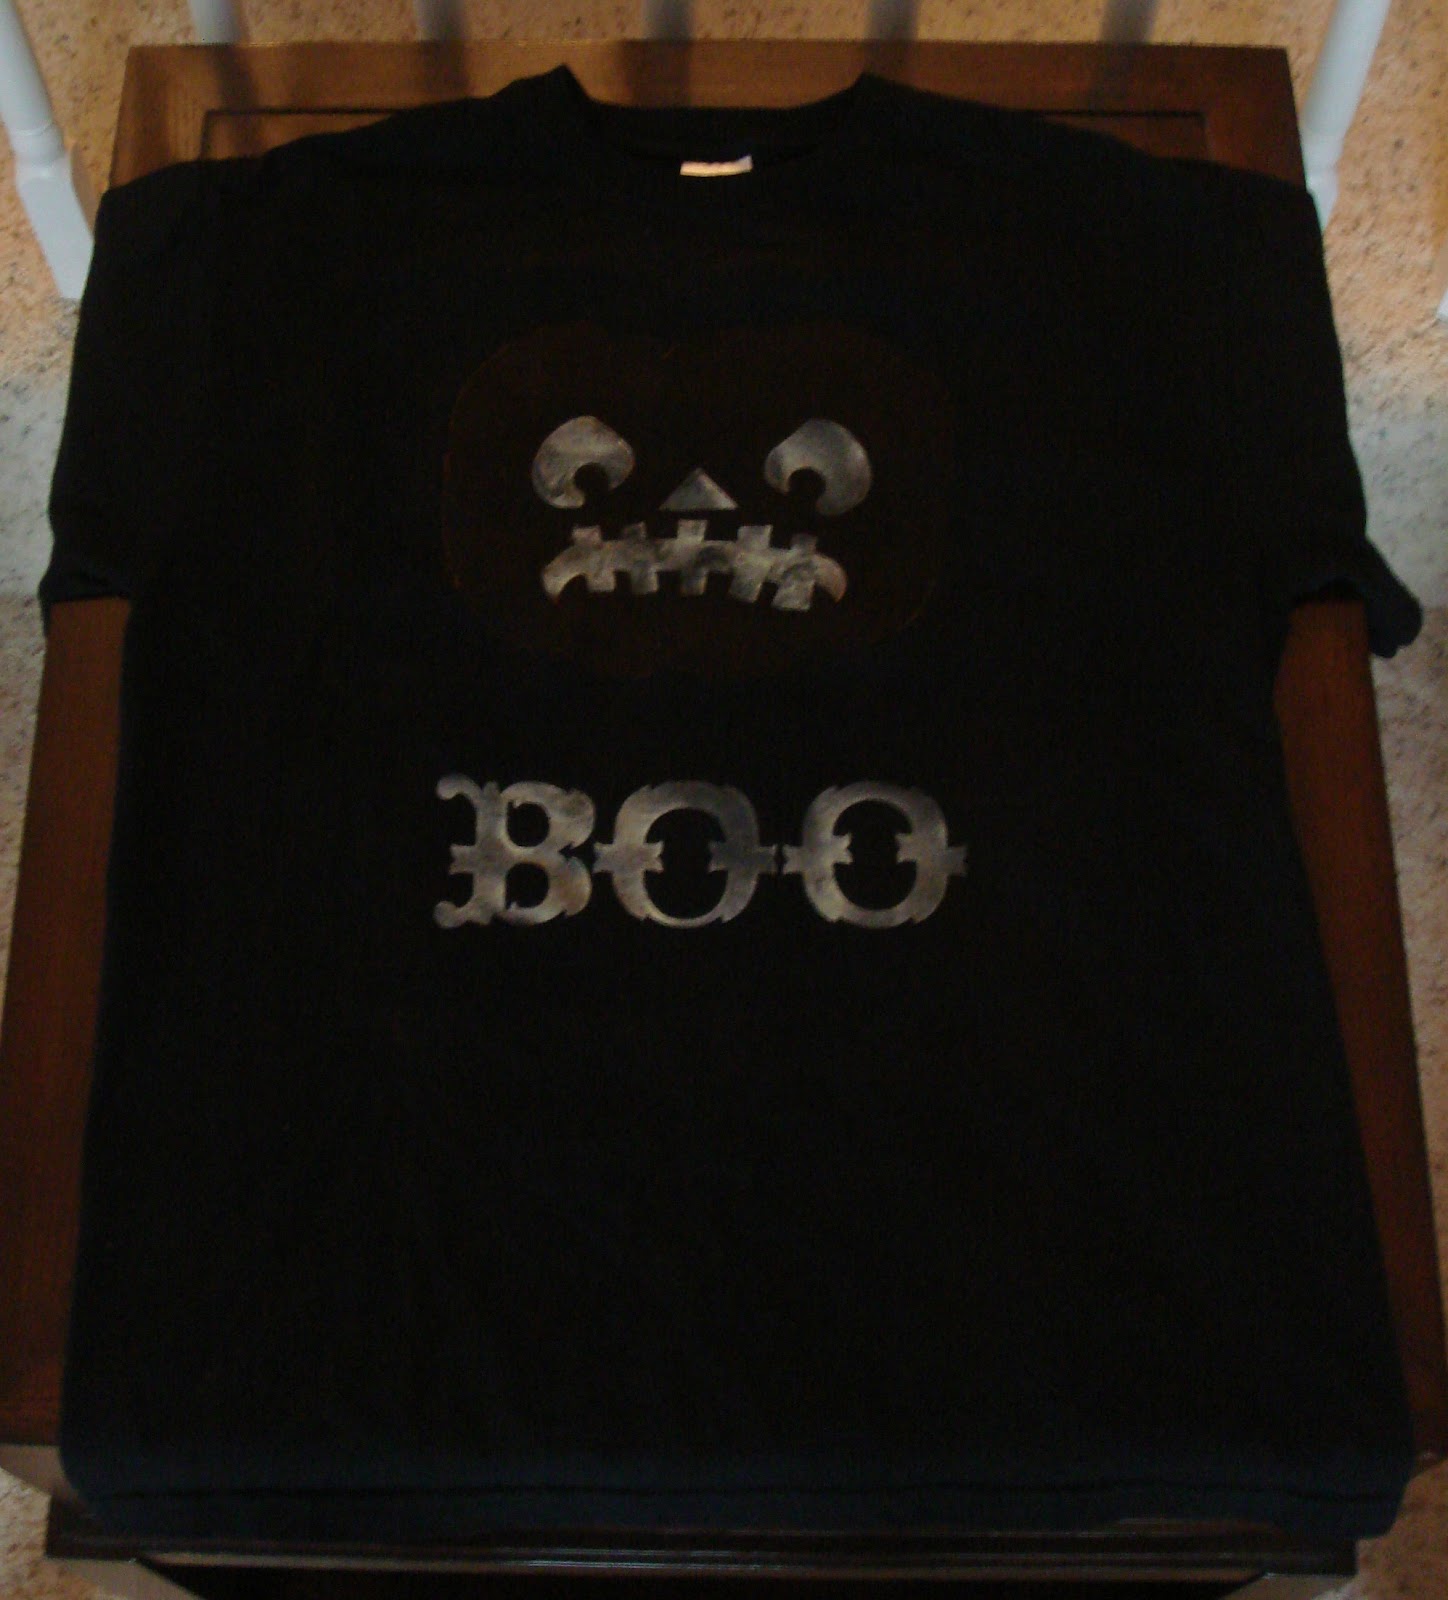
Today I have done some T-shirts for you all.  They are Halloween T-shirts to go with the upcoming holiday and so that I could have something to wear when I take my girls trick-or-treating this year.

This first T-shirt is a scary one.  The images are cut from the Happy Hauntings cartridge.  I used neon orange fabric spray paint for the scary pumpkin.  The cool thing about this shirt is that for the face and word I used glow-in-the-dark fabric spray paint.  In the dark, you can really only see the face and word.  One thing I did learn is that I don't like the spray fabric paint.  It is hard to control where it goes and rather drippy.  Lessons learned!!!

This next shirt is an homage to my love of wine!!  The wine glass was cut from the Simply Charmed cartridge and the text was from the Happy Hauntings cartridge.  I used regular green fabric paint for the wine glass.  Another cool feature is that the wine and the text were done with glow-in-the-dark purple fabric paint.  It really glows well, although I couldn't get a good picture to show you.

This last shirt was done using some cool iridescent orange paint and standard black paint.  Both images are again from the Happy Hauntings cartridge.

And know on to the supplies and instructions.

Supplies Needed:
1.  Freezer paper:  I use Reynolds brand from my local grocery store
2.  Cotton T-shirts.  Pre-wash the shirts before proceeding with the project
3.  Fabric pant
4.  Foam brushes

How To:

1.  Select an image to cut.  I used my Cricut to cut most of the images from the Happy Hauntings cartridge.  When you cut the freezer paper, place the paper non-glossy side down on the mat.  If you are cutting an image that is not symmetrical you will need to flip it so that you are cutting the mirror image.  I did this using my Gypsy and I think you can do this in the Craft Room.  Really you only need to do this for words as images will work in either direction.

2.  After removing the freezer paper from the mat (you will be using the outline of the image not the actual cut pieces), break out the iron and ironing board.  Place the glossy side down on the fabric and iron on the highest setting that does not have steam.  It should only take a few minutes.  You will know when it is done when the inside edges don't lift up easily.  Allow it to cool and then test the edges to see if you need to go over it again.

3.  Choose your paint colors and using a foam paint brush apply the paint to the shirt inside the stencil.  It works best if you brush from the edge of the stencil to the inside to ensure a clean line. 

4.  Let dry 3-4 hours or overnight for best results and then pull the freezer paper off the fabric. 

Thanks for stopping by and checking out my T-shirts.  Happy Halloween everyone.