Showing posts with label Bind-it-all. Show all posts

Tuesday, March 6, 2012

My Craft Planner

Good Evening all, as promised I am back today to post a project that I have been working on for about a week now.  It is a craft planner.  Now, I know that it is already March but I still wanted to put together a planner for my crafts.  I feel like it will help me better manage my crafting time so that I can get the projects done that I really want without having to rush through them at the last minute.  This project took me about a week of 2 hour crafting sessions to complete but I think it came out really great.  This will be a picture heavy post, so if you just want the planner recipe just skip to the end!!!


The chipboard is cut to 11.5" x 9".  The cover paper is from this really cool stack that I found in the clearance section of Jo-ann's for $0.99.   It is a stack from Colorbok called English Moss.  It is unique because it is an overlay with coordinating card stock.  The picture below shows it much better.

Oh an the paper is not dirty, it is made to look distressed which is really neat.  Now the rosette on the front is also made from unique paper.  It is the new fabric paper from DCWV.  I really love it and can't wait to use more of it.  The paper is fabric with an adhesive backing.  So to make the rosette I just cut a strip of the paper and removed the backing and then started bunching it around.  The adhesive on the back of the paper made it stick together.  I then used a button and some twine from The Twinery.

The inner pages of the planner are from a website I came across on Pinterest.  They are a free printable that is unique to blogs/crafts planning.  Here is the link to the website. 


I loved the colors on these printables, which was really the basis for the planner design.  The artwork on the inside cover on the picture above is from the Cricut Imagine More cartridge.  I wanted to have a place to jot down notes.  The dividers between the months also have the notebook paper design on them as well.


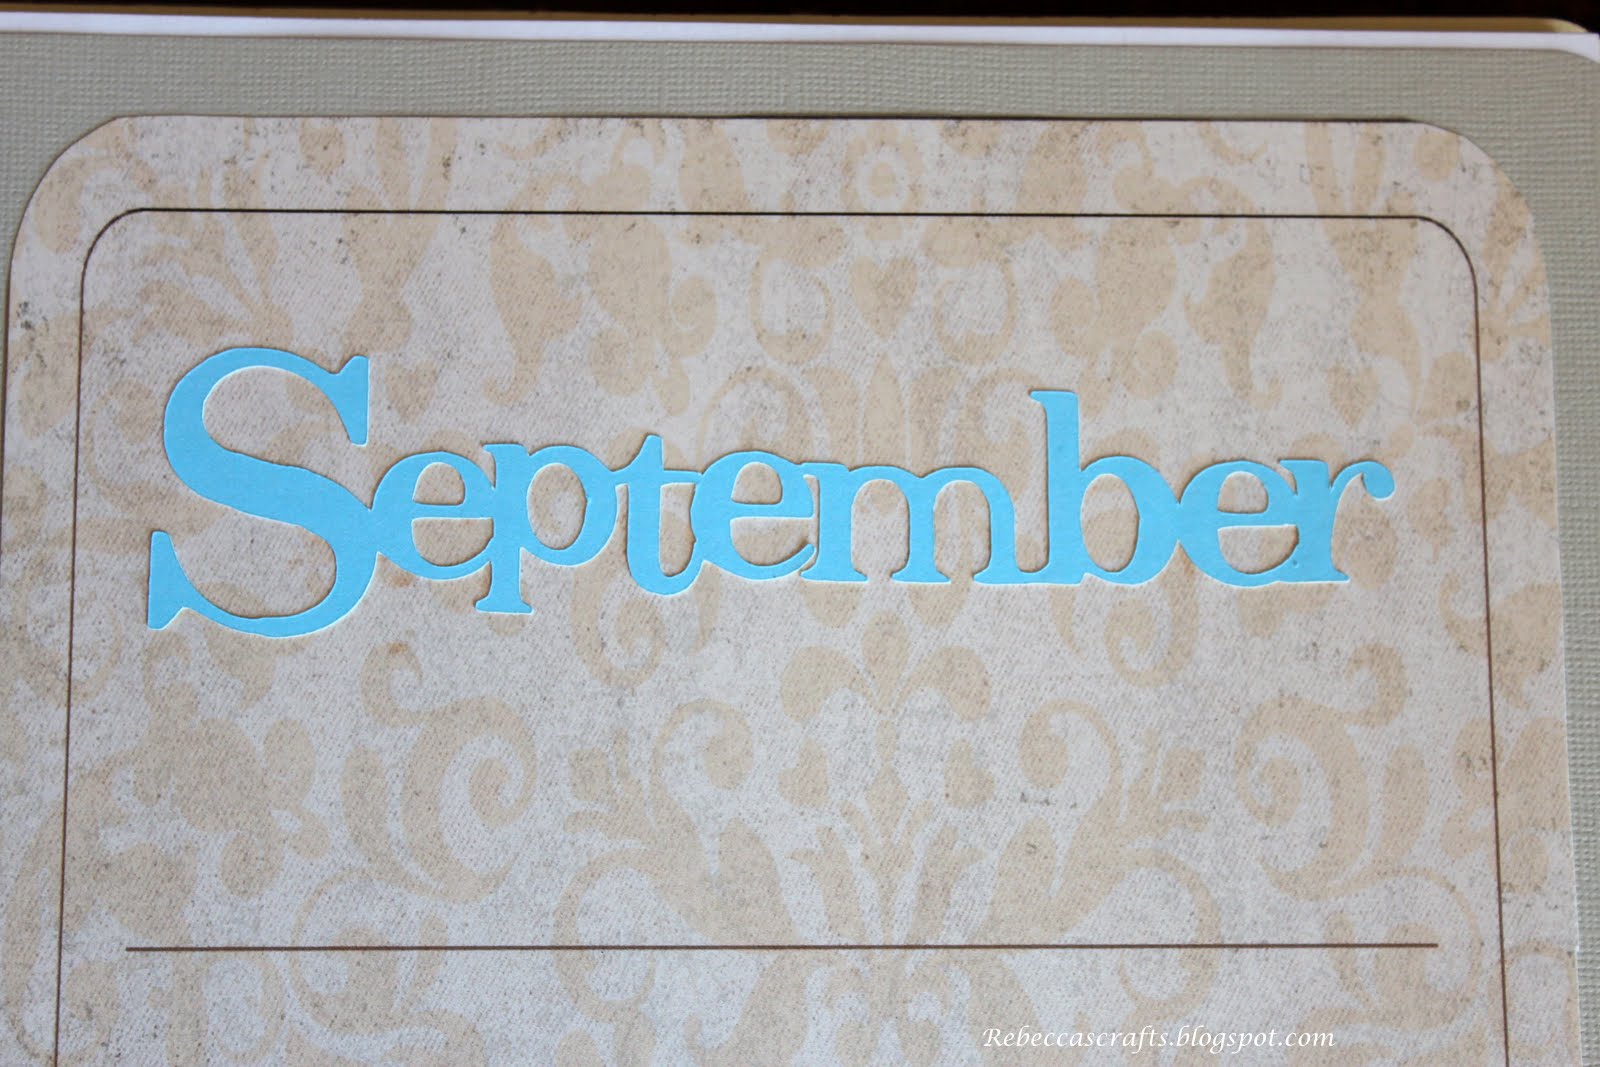
The month titles were made using the Cricut Craft Room and Kate's ABC's cartridge.  I made the first letter bigger than the rest of the letters and then welded them together to create one cut.  I also used the Imagine, so that I could match the colors.  The scalloped circles for the divider tabs were done using the free Craft Room Basics digital cart.  I used the Bind-it-all to bind the book.  An interesting tidbit is that I used We R Memory Keepers Cinch O-wire.  So you can use both in the Bind-it-all.


Planner Recipe:

  • Planner Pages - http://www.infarrantlycreative.net/2012/02/free-printable-blogplanner.html
  • Chipboard for covers cut to 11.5" x 9"
  • Cover paper from Colorbok English Moss overlay stack
  • Inner-cover art from Cricut Imagine More cartridge cut at 10"
  • Divider art from Cricut Imagine More cartridge cut at 10"
  • Scalloped tab circles from Craft Room Basics cut at 1"
  • Title text from Kate's ABC's cut at 1.8" and 1.25"
  • Month text from Kate's ABC's cut at 1.5" and 1"
  • Rosette from DCWV Fabric paper line
  • Twine from The Twinery


So that is that.  I hope I have inspired you to create your own planners for whatever purpose because I love looking at my personalized planner that didn't come off a store shelf.  Have a wonderful evening.


Thursday, March 1, 2012

Photo Book for a Toddler

Good evening all, hope your week as been great and productive.  I am excited that tomorrow is Friday!!!!  Yeah my hubby comes home and we can have a weekend of fun.  I am thinking Ice Skating.  My 2yo has never done it, but when we took her to see Disney on ICE a couple weeks ago she was so excited she lifted her little leg in the air and screamed "I skate I skate".  So I am thinking that should be on our agenda.  Anyhow, the craft I have for you today is a photo book I created for a friends toddler.  They get quite a bit of Christmas photo cards over the holidays and she was just letting her toddler pull then out of a bag to look at them.  When I said that I could bind them into a book my friend said sure.  So without further adieu:


The process for the book went as follows:  First I matted all the Christmas photo cards onto 9" x 6" card stock.  This was the smallest I could use based on the size of the photo cards and to ensure that when bound none of the pictures would have holes in them.  The covers are done using 12x12 chipboard that is then cut down to 6" x 9".  I then used pretty paper to cover the chipboard.  The really interesting thing I did was to create a magnetic closure for the book.  You can see from the first and last photo that there is a flap that opens.  This flap magnetically closes to the front of the book.  I got the idea from one of Heidi Swapp's episodes on My Craft Channel.  It is a video tutorial of an 8x8 book that she did with a magnetic enclosure.  I will leave all the details to her.  Next time I do something like this I will try to photograph it in the stages of the project.  I used my new Bind-it-all to bind the project.  The name Kiran was done with embossing powder.

I hopped by one of the blogs I read regularly and found out they were having a challenge.   I came, I saw, I created holds a color challenge every week.  This weeks challenge was to use Tangerine Tango, Tempting Turquoise, and Old Olive.  She gives you the RGB codes for each color.  My papers already had these colors in there, but because I needed to embellish the book a little, I pulled out my Imagine.  The camera  is cut from the Create-a-Critter cartridge at 3.5".   I used the Cricut Imagine to print and cut the camera with the exact RGB codes.  It came out great!!!  I then used some glossy accents on the lens, flash, and shutter button. 

I realize this is different from my normal posts were I usually give a craft recipe at the end of the post.  I decided to be a little more verbose in this post.  Please comment and let me know if you like either style better or would like to see a combination of both.  Thanks so much for coming by and have a great weekend!!!