Showing posts with label Stretch Your Imagination. Show all posts

Friday, August 31, 2012

Back-to-School with Circut Markers

Hi all

Hope everyone is having a great start to their Labor Day weekend.  We went to the pool today, probably the last time of the season due to the weather report this weekend.  It was a bunch of fun and of course I took lots of pictures to capture the last moments of summer.  (I haven't downloaded them yet of course).  So my kiddos go back to school in a week.  I am sometimes counting down the hours and sometimes hope to time goes by a little slower.  My oldest will be going everyday this year.  It is only half day so I am glad that I still get half a day with her.  I am excited to be spending some more one on one time with my little one since she will only be going two days a week.
So with school fast approaching I made my little girls some cards to stick in their lunchboxes on the first day.  Just want to make sure they know that I am thinking if them while they are away from me for a couple hours.  I went very traditional back to school with these cards.  Primary colors and common back to school motifs.  One thing I did do different is use the Cricut Markers for the first time.  I wanted to give them a test run, because I plan to use them on a really big upcoming project.  They worked beautifully as you will see in the pictures. 

Card Recipe:
  • Card base is 4" x 4"
  • Card frame is 3.5" x 3.5"
  • School frame drawn with black Cricut Marker from Stretch Your Imagination 
  • School bus from Stretch Your Imagination - Misted with Tattered Angels Mustard Seed
  • Doodlebug twine for braid
So I used the markers twice in this card.  The first was on the school frame.  The second was on the bus.  I first had the Cricut draw the bus with the markers and then I reloaded the mat and cut the bus.  I used white paper and then misted it with the mustard seed mist.  I am entering this card in two back to school challenges this week. 
Thanks for stopping by today.  I will share the other card in another post tonight.  Hope you have a wonderful weekend.  

Monday, April 23, 2012

Scrapbooking with the Cricut

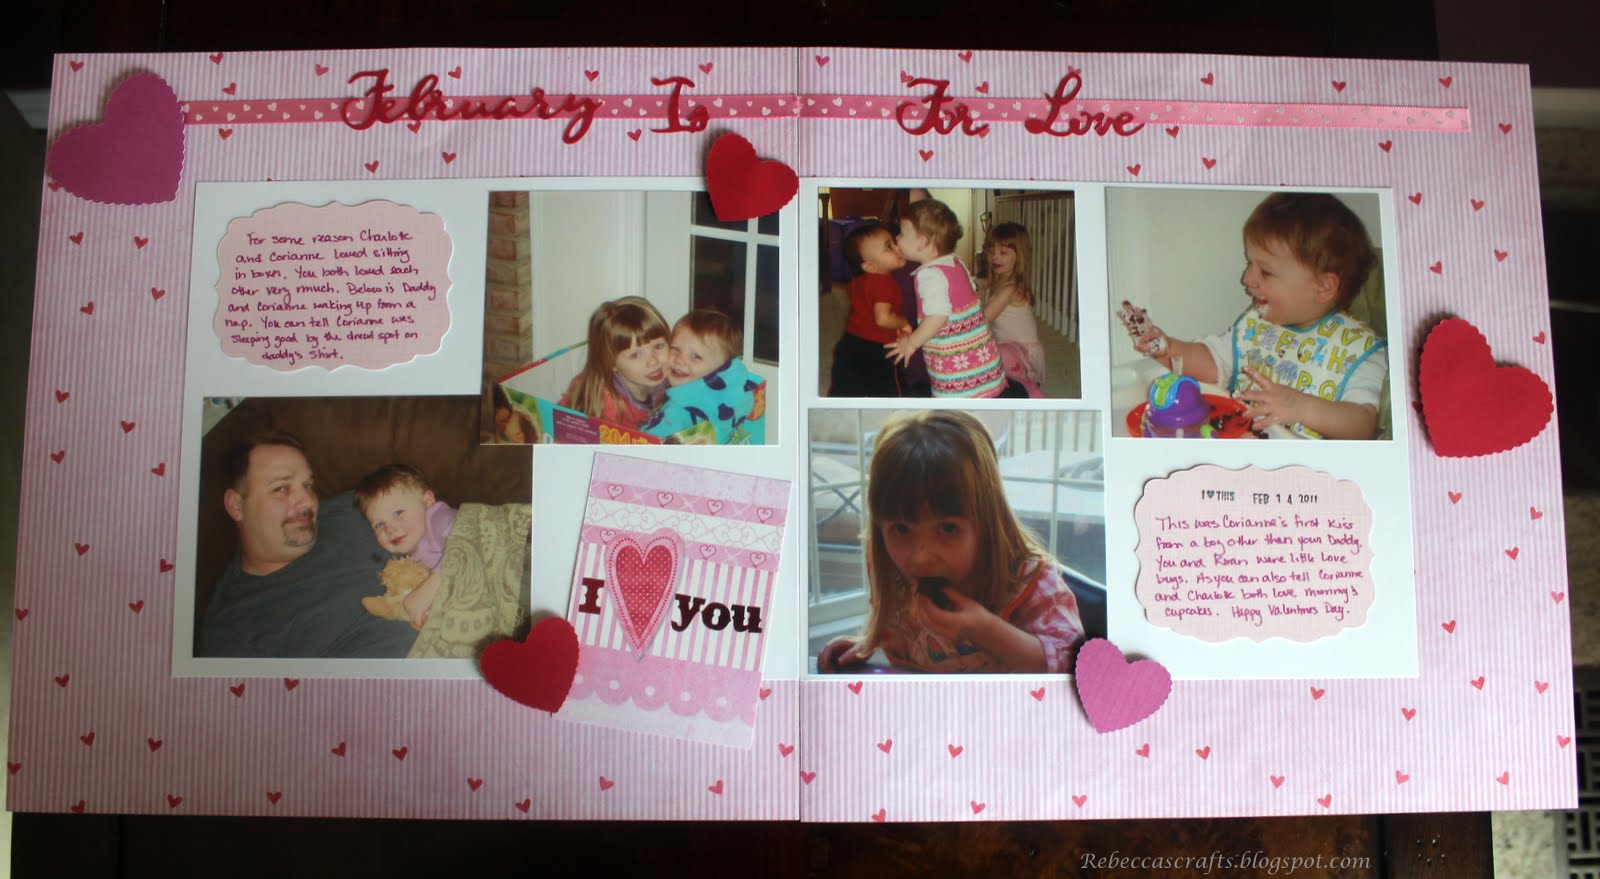
Hi all, hope you have had a good weekend.  I had a pretty good one, spent the evenings getting some much needed scrapbooking done.  I love scrapping but always have a hard time getting started.  Well this weekend I decided I was going to get started on our 2011 family album.  I have done first year albums for my girls but never a family album.  I though the first couple layouts came out pretty good.  I am not going to list recipes for the pages only the Cricut cartridges I used.  So here we go.


Cricut Cartridges Used:

  • Plantin Schoolbook
  • Kate's ABCs
  • Stretch Your Imagination
  • Cricut Craft Room Basics
  • Gypsy Font

 So there they are.  I think I got a pretty good start and am going to try and dedicate one night a week to scrapping until I get the album done.  I am now going to start working on some projects for Teachers Gifts.  Not sure what I am going to do yet.  If you have any ideas for Teacher Appreciation week I would love to hear about them.  Have a great week.

Tuesday, April 3, 2012

Cricut Crafted Easter Cards

Hi all, I have been missing for a while but I am back with my final round of Easter Cards.  Finally got them all finished last night and plan to mail them out tomorrow.  I have three cards today.  I think the kids are going to love them.  The first card is an Easter basket card.  I used one of the new Cricut Digital cartridges Easter for this card.


This card was really quick and easy to put together.  I think it is the little touches with the ribbon and stickles that make the card special.  I am entering this card in the Fantabulous Cricut Egg challenge this week.

Card Recipe:
  • Easter basket cut from Stretch your Imagination at 4.4"
  • Eggs cut from the digital cartridge Easter at 1"
  • Happy Easter from digital cartridge Easter at 2"
  • Ribbon from Michaels
  • Crystal Stickles
The second card is a tulip Easter card.  This was another really simple card to put together.


Card Recipe:
  • A2 sized card
  • Bunny frame from Elegant Edges cut at 5.25" (This is the oblong feature)
  • Tulips from digital cartridge Easter cut at 3.25"
  • Banner from the Ultimate Creative Sampler cut at 1"
  • Swiss dots Cuttlebug Folder
The third and final card is an Easter bunny card.  This is a shape card made by welding two images in the Cricut Craft Room.  The card base is the stamp shadow from Elegant Edges.  I welded two of them together to make the shaped card.  I am entering this card into the Easter challenge at My Craft Spot this week.


Card Recipe:
  •  Card Base is the stamp shadow from Elegant Edges cut at 5.5"
  • Card frame Elegant Edges cut at 4.9"
  • Bunny with carrot from Simply Charmed cut at 4"
  • Happy Easter is done using Gypsy Font cut at 1"
Hope you enjoyed the cards and have a wonderful Easter.  Thanks for stopping by.

Friday, December 30, 2011

Christmas Projects

Hi all

I wanted to share some projects that I did for Christmas.  I was furiously crafting up until the 23rd which is why I did not post much over the holidays.  Next year I will definitely start earlier, especially on my Christmas cards.  So the first project are our family Christmas cards.  This is the first year that I have done them all in house and wanted to make them as simple as possible.

It is a 6 inch by 5 inch card.  I used a snowflake embossing folder and maraschino twine from the twinery.  The reindeer is cut at 4 inches from the Christmas Cartridge that came with my Gypsy.  The stamps are from Recollections.


The second project is a tag I made for the cookie boxes I give to our post woman.  I try and bake yummy goodies to give to all the people that help us throughout the year and provide the services that make life easier.
After I made them I realized that they are a little big but I needed the space to write a nice note on the back.  The twine is from the Christmas pack at the twinery.  The gingerbread man is from Stretch your Imagination cut at 3 inches.  I actually used the Craft Room and my Cricut Imagine so that I could just print the colors and cut all at the same time.  I thought they came out pretty cute.


The last project I have is a decoration I made to decorate the table for the Christmas breakfast I made for my girls school.  I have decided that I do not like to buy teacher's gifts because they seem to get the same things so I make them all a hot breakfast instead.
This is just a piece of Christmas card stock for the background with the text cut from a Cricut Craft Room exclusive.  The exclusive cartridge is Teresa Collins Christmas Collage.  It is a digital cartridge that you can buy from the Craft Room.  This was really simple to make and came out beautiful.  I gave it to the school director as a gift and think I will make something similar for myself.
I hope that you have enjoyed these projects and maybe gives you some inspiration for next year.  My goal is to start my Christmas crafting alot earlier, like maybe July!!!  Have a Happy New Year. 

Thursday, July 28, 2011

Congratulations Baby Card

Hello everyone, I have been crafting away at a card for a friend of mine who will very soon give birth.  We don't know what the sex of the baby is so I kept the card neutral.  I still think the card came out super cute.  I will give the recipe after the picture.  Let me know what you think!!

 The recipe for this card is as follows:

Stork:  Cricut Wrap it Up
Baby: Cricut Stretch Your Imagination
Stamps:  My Pink Stamper: Sweet Baby

I embossed the saying on the front of the card with Linen embossing powder and just used a brown ink pad for the inner saying.  

Hope you enjoy, I am off to work on my second daughters first year scrapbook.  I am hoping to have it done by her second birthday in October!!!